
Last Update on 10-04-2026
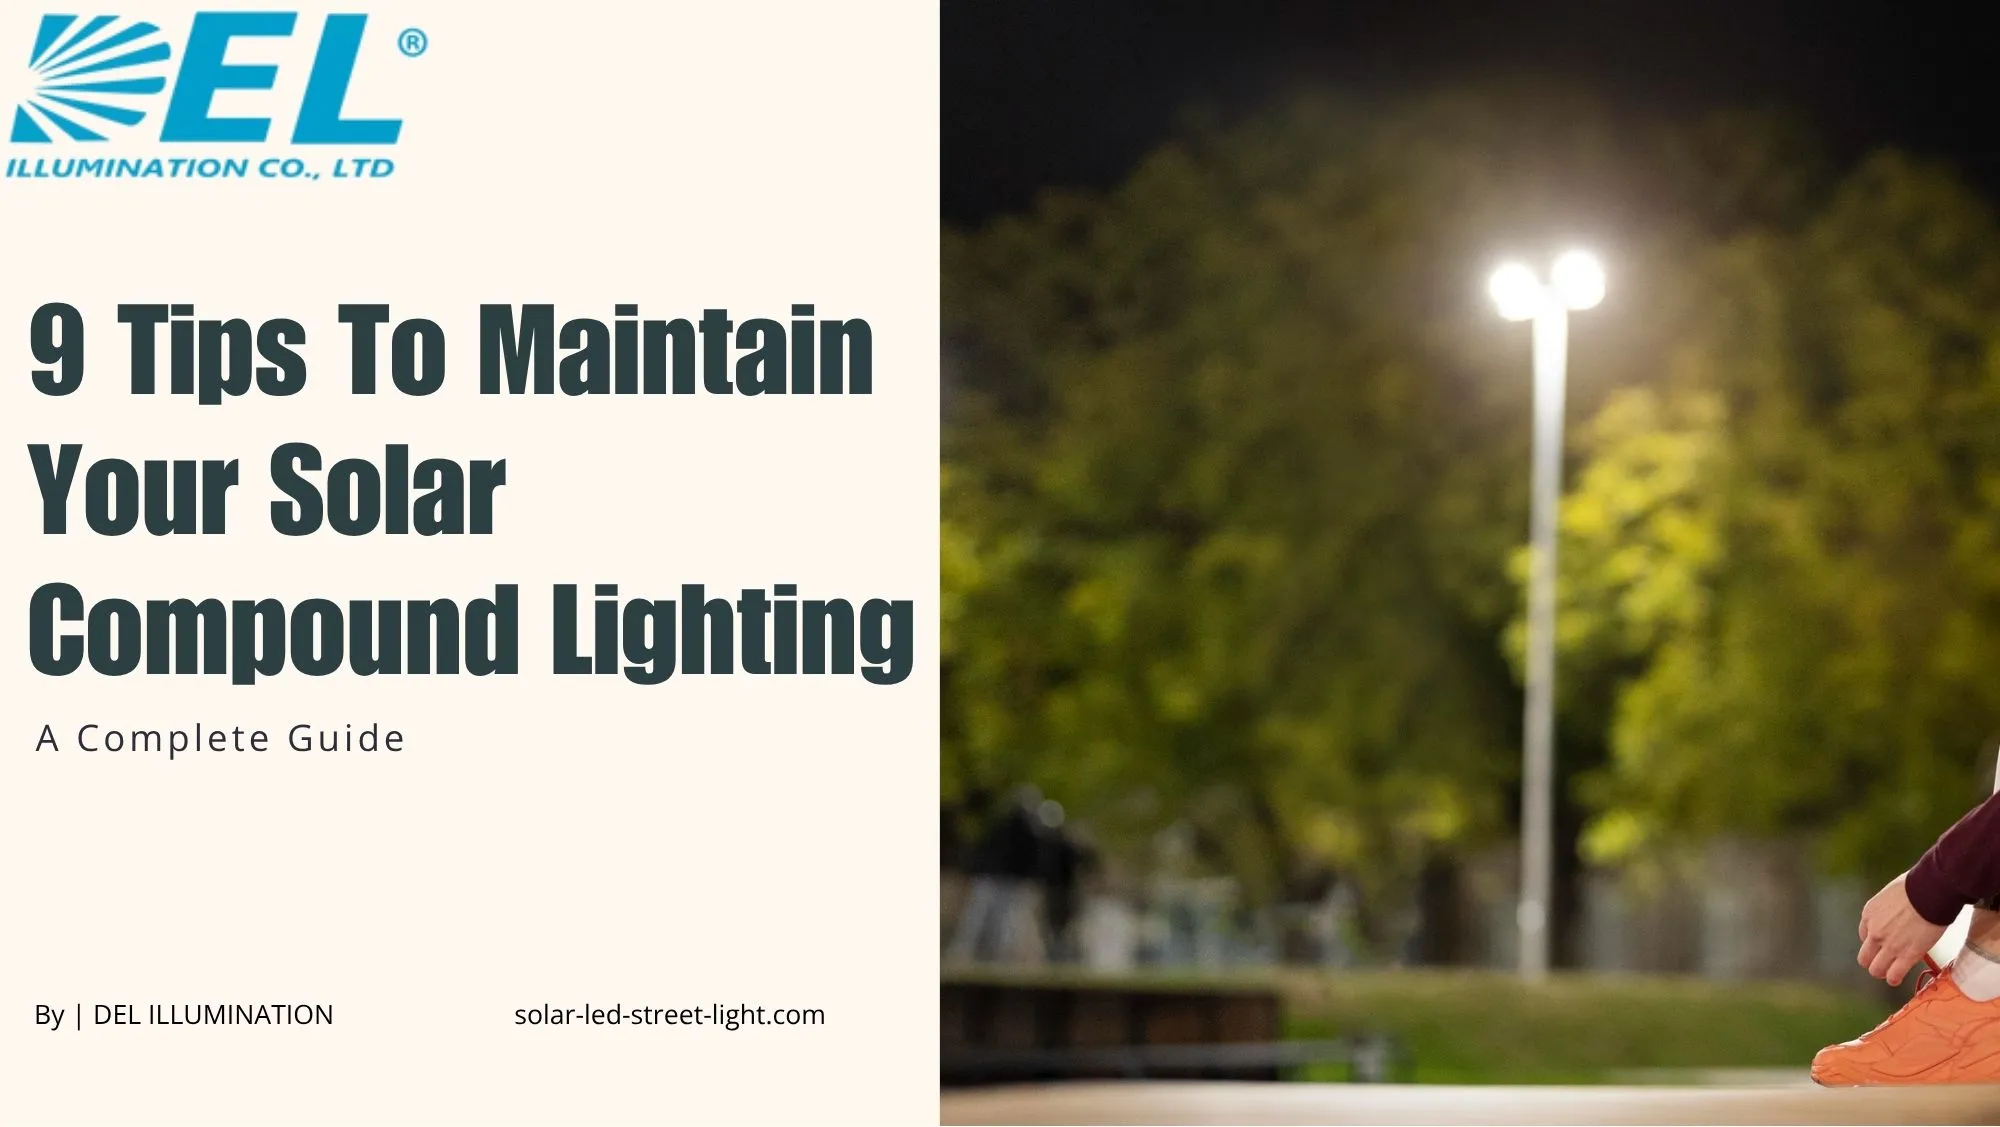
With the rapid advancements in solar technology, solar compound lighting has become one of the most efficient and sustainable ways to illuminate our outdoor spaces, driveways, and backyards. Solar street lights offer a clean, cost-effective solution that reduces electricity bills while keeping your property well-lit throughout the night. However, like any investment, your solar compound lighting system requires consistent maintenance to perform at its best.
To ensure your solar compound lighting continues to shine brightly and efficiently for years to come, it’s essential to follow a set of practical maintenance tips. In this comprehensive guide, we’ll walk you through nine valuable tips that will help you keep your solar compound lighting system in optimal working condition – saving you time, money, and unnecessary repairs.
Understanding how solar street lights contribute to global economic growth makes it even clearer why maintaining your system properly is a smart long-term investment.
Signs That Your Solar Compound Lighting Is Not Working Properly
Before diving into maintenance tips, it’s important to recognise early warning signs that your solar compound lighting may be underperforming. Catching these issues early prevents costly repairs.
- Dim or flickering light: A dim or flickering output may indicate a problem with the battery or solar panel.
- Complete darkness: When the light does not turn on at all, it is a clear sign of a malfunction in your solar compound lighting system.
- Inconsistent operation: If the light works intermittently or turns on and off randomly, it requires immediate attention.
- Sensor malfunction: If your light has a motion or ambient light sensor that doesn’t respond correctly to changes, it may need recalibration or replacement.
- Short battery life: If the battery no longer holds charge as long as it used to, its efficiency is degrading.
- Corrosion or physical damage: Visible damage or corrosion on the solar panel, battery terminals, or any other component is a red flag that should not be ignored.
If you’re already dealing with some of these issues, our guide on 5 ways to fix a solar light not working can help you troubleshoot effectively.
9 Tips to Maintain Your Solar Compound Lighting System
i. Regular Cleaning
One of the most important – and often overlooked – aspects of maintaining your solar compound lighting is keeping the solar panels clean. Solar panels are responsible for converting sunlight into usable energy, which powers your lights through the night. Over time, dust, bird droppings, pollen, and grime accumulate on the panel surface and reduce the amount of sunlight absorbed.
Clean your panels regularly using a soft cloth or sponge with mild soapy water. Be gentle to avoid scratching the surface, as scratches can significantly reduce efficiency. Also inspect the light fixtures and surrounding area for leaves, branches, or debris that may have built up. These obstructions can cast unwanted shadows or block the light output, reducing the effectiveness of your solar compound lighting.
Regular cleaning not only improves performance but also enhances the visual appearance of your setup – clean, well-maintained lights create a safer and more welcoming environment for visitors and residents alike.
ii. Check for Shading
Shading is one of the biggest threats to the efficiency of your solar compound lighting system. Even a small shadow cast across a solar panel during peak sunlight hours can dramatically reduce the energy it captures. Shading can come from overgrown vegetation, seasonal changes in tree growth, nearby structures, or accumulated debris.
Inspect your solar compound lighting installation periodically to identify any potential shading issues. Trim back overhanging branches or tall plants that may block the sun’s path. Remove any clutter or debris that might accumulate around your lights.
Also consider how the sun’s angle shifts throughout the year. What was a shading-free position in summer may become partially shaded in winter. Adjust the placement or tilt of your solar panels if necessary to ensure consistent exposure throughout all seasons. Proper positioning makes a significant difference in how effectively your solar compound lighting system performs year-round.
iii. Battery Care
The battery is the heart of any solar compound lighting system. Without a healthy battery, even the best solar panels won’t deliver reliable overnight lighting. Inspect batteries regularly for visible signs of damage, swelling, or corrosion on terminals and cables. Address any issues promptly before they worsen.
Maintain proper charge and discharge cycles – allow the battery to fully discharge overnight and recharge fully during the day. This cycle helps prevent premature degradation. Extreme cold temperatures can also reduce battery efficiency; consider insulating the battery compartment or relocating batteries indoors during harsh winter months.
Monitor the overall performance of your solar compound lighting regularly. If you notice reduced brightness or shorter operating times, it often points to a battery issue that needs addressing. For more in-depth guidance, read our article on 10 tips to maintain your solar street light battery.
iv. Clean the Light Fixture
Beyond the solar panel itself, the light fixture also requires regular cleaning as part of your solar compound lighting maintenance routine. Dust, dirt, insects, and debris can accumulate on the fixture’s surface and lens, reducing its ability to emit light effectively.
To clean the fixture safely, first turn off the power source if applicable. Remove any loose debris or insects using a soft brush or cloth. For stubborn stains, apply a mild detergent mixed with water using a soft sponge, then rinse thoroughly with clean water to remove any residue. Avoid abrasive materials or harsh chemicals, as these can damage the fixture’s finish and reduce its lifespan.
A clean fixture means more light output per watt – keeping your solar compound lighting running at its rated performance rather than degrading over time.
v. Inspect for Damage
Routine visual inspections are a critical part of maintaining your solar compound lighting system. Begin by examining each light fixture for visible cracks, dents, or broken components. Pay particular attention to the solar panels – any cracks or chips on the surface can significantly affect energy conversion.
Check all wiring and electrical connections for signs of wear, fraying, or corrosion. Loose or damaged wires can cause electrical failures and may even pose fire or safety risks. Inspect the batteries for corrosion, leakage, or swelling.
Also examine the light fixtures themselves for rust, fading, or structural wear. Replacing damaged fixtures promptly keeps your solar compound lighting looking professional and functioning safely. Learn more about the anatomy of solar LED luminaires to better understand which components to prioritise during inspections.
vi. Adjust Placement for Maximum Sunlight
The physical placement of your solar compound lighting has a direct impact on its daily energy harvest. Poor positioning – even by a few degrees – can translate into noticeably shorter lighting hours each night.
Always install solar lights in areas that receive maximum direct sunlight throughout the day, particularly during peak sunlight hours (10am–3pm). Avoid shaded areas near walls, under eaves, or below dense tree canopies. Consider tilting the solar panels slightly toward the sun’s path to increase their absorption angle.
Also ensure that your lights are not being obstructed by any tall structures or rapidly growing vegetation. Revisit the placement of your solar compound lighting every few months to account for seasonal changes. If you’re setting up new installations, our park solar lights installation guide offers detailed positioning advice.
vii. Replace Faulty Components Promptly
Maintaining your solar compound lighting isn’t only about cleaning and positioning – it also means knowing when to replace ageing or faulty components before they cause a full system failure.
Start with the batteries. If they’re no longer holding adequate charge, showing decreased capacity, or leaking, replace them immediately. Next, check the LED bulbs or fixtures. Although LEDs have a much longer lifespan than traditional bulbs, they will eventually dim or fail. Flickering or noticeably dim output is a clear sign it’s time to replace the LEDs in your solar compound lighting setup.
Examine wiring and connectors as well. Corroded or loose connections reduce efficiency and can create safety hazards. Replace any worn or compromised wiring quickly. Keeping spare components on hand means you can act fast when something fails, minimising downtime for your solar compound lighting. See our guide on the best things to look for in solar street lights to understand what quality components look like.
viii. Consult the Manufacturer’s Manual
Every solar compound lighting system comes with a manufacturer’s manual, and it is one of the most underutilised resources available to system owners. The manual contains wiring diagrams, component explanations, safety precautions, and model-specific troubleshooting guidance that is far more precise than generic advice.
Regularly consulting the manufacturer’s manual allows you to identify potential issues early, follow recommended maintenance intervals, and understand how to safely service your specific solar compound lighting system. The manual often includes schedules for checking connections, cleaning panels, and inspecting batteries – all tailored to the product’s design.
If you ever encounter a persistent issue, always consult the manufacturer directly. Their technical support team can help you avoid costly mistakes. For additional guidance, our article on factors to consider when setting up a solar street light LED system is also a valuable reference.
ix. Weatherproof All Connections
Your solar compound lighting system is permanently exposed to the elements – rain, humidity, dust storms, and temperature swings. Without proper weatherproofing, moisture and debris can infiltrate electrical connections and cause corrosion, shorts, and complete system failure.
Inspect all connections between solar panels, batteries, and light fixtures regularly. Ensure that every electrical connection is secure and properly sealed. Use waterproof connectors and junction boxes wherever possible – these are specifically designed to keep moisture and dust out of your solar compound lighting system.
Applying a layer of silicone sealant around connections adds an extra layer of protection against water ingress. This is particularly important during rainy seasons or in coastal environments where salt air accelerates corrosion. Properly weatherproofed connections are one of the most effective ways to extend the lifespan of your entire solar compound lighting installation.
For related tips on maximising durability, explore the 5 benefits of IP65 solar street lights, which are specifically rated for outdoor weather resistance.
Additional Resources to Explore
If you’re looking to expand your solar lighting knowledge, here are some related topics worth reading:
- How solar light poles compare and what affects their price
- 7 benefits of all-in-one street light technology
- How to design and construct automatic solar street lights
- How to calculate distance for LED solar area lights
- Understanding solar light pole street restrictions
Conclusion
Waiting until your solar compound lighting system breaks down before taking action is a costly mistake. Proactive maintenance ensures consistent performance, extends the lifespan of every component, and protects the investment you’ve made in sustainable outdoor lighting. All nine tips covered in this guide – from regular cleaning and battery care to weatherproofing connections and replacing faulty parts – are essential practices for any responsible solar compound lighting owner.
The good news is that most of these tasks are simple, inexpensive, and can be carried out without specialist tools. By following a routine maintenance schedule, you can keep your solar compound lighting running reliably for many years. If you need further assistance or have questions about your specific setup, don’t hesitate to contact us for expert guidance.
Frequently Asked Questions (FAQs)
Q1: How often should I clean my solar compound lighting panels? Ideally, clean your solar panels at least once every four to six weeks. In dusty environments, coastal areas, or regions with heavy seasonal pollen, you may need to clean them more frequently – even every two weeks – to maintain peak energy absorption.
Q2: How long do the batteries in a solar compound lighting system typically last? Most rechargeable batteries used in solar compound lighting systems last between two and five years, depending on the battery type, climate conditions, depth of discharge cycles, and quality of the product. Lithium-ion batteries generally outlast lead-acid alternatives. Regularly monitoring battery performance helps you replace them before they fail completely.
Q3: Can extreme weather damage my solar compound lighting system? Yes. High temperatures, freezing cold, heavy rain, and strong winds can all affect the performance and durability of solar compound lighting. Using IP65-rated waterproof fixtures, insulating battery compartments in cold climates, and using weatherproof connectors greatly reduces weather-related damage risk.
Q4: What should I do if my solar compound lighting stops working entirely? Start by checking the most common causes: dirty or shaded solar panels, a depleted or damaged battery, and loose or corroded wiring connections. If cleaning the panel and checking connections doesn’t resolve the issue, inspect the battery and LED fixture for faults. Refer to the manufacturer’s manual for model-specific troubleshooting steps, or consult our guide on 5 ways to fix a solar light not working.
Q5: Is it worth upgrading to a newer solar compound lighting system rather than maintaining the old one? It depends on the age and condition of your current system. If your lights are more than seven to ten years old and multiple components are failing simultaneously, upgrading may be more cost-effective than continuous repairs. Newer solar compound lighting systems offer improved battery technology, smarter sensors, and higher-efficiency panels. Review our guide on innovative LED solar street light solutions to explore what the latest systems offer.