
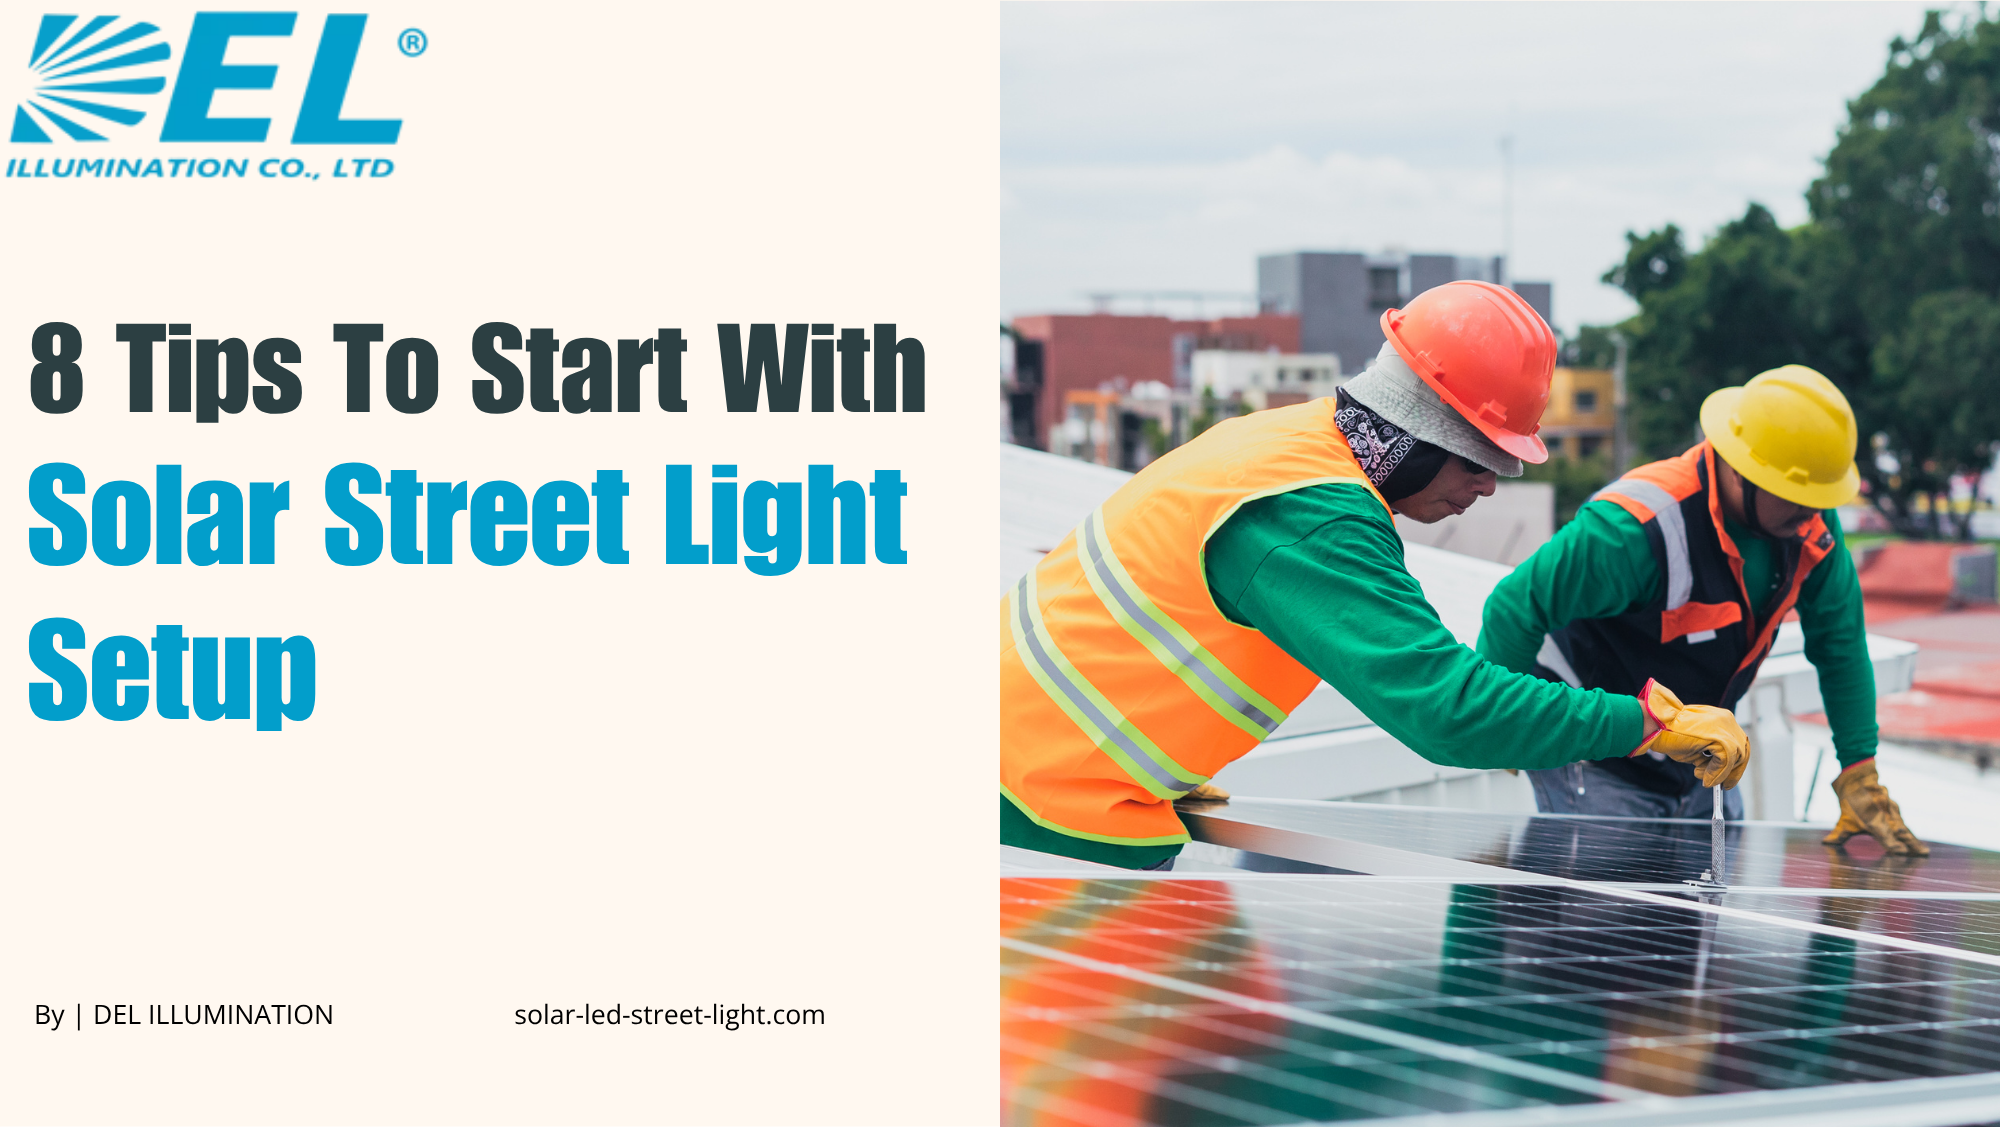
Are you looking for a solar street light setup? A solar street light setup is the perfect way to light up your streets, sidewalks, and parking lots. Not only do they provide illumination, but they also help reduce energy costs and greenhouse gas emissions.
A solar street light setup is a great way to save money and help the environment. The lights provide illumination for the street and charge up during the day using solar power so that they can run at night without needing to be connected to the grid.
Setup Tips
If you are interested in a solar street light setup, there are a few things you will need to keep in mind. First, you will need to ensure that the area you want to light is exposed to direct sunlight for at least six hours per day. This is necessary to ensure that the solar panels can generate enough power to run the lights at night.
You will also need to make sure that there is enough space for the solar panel array. Each solar panel is about two feet by four feet, so you will need to ensure that you have enough space to accommodate the number of panels you need.
Finally, you will need to ensure that the solar street lights are installed in an area where they will receive direct sunlight during the day. This is necessary to ensure that the batteries can charge appropriately. If you keep these things in mind, you will be well on your way to a successful solar street light setup.
1. Gather the Materials
The first step is gathering all the materials you will need for your solar street light setup. This includes solar panels, batteries, charge controllers, inverters, and LED lights. You can find these items at your local hardware store or online.
Check that every component is rated for outdoor use. Look for an IP66 rating on the fixture and a battery suited to your local temperature range.
2. Choose a Location
The next step is to choose a location for your solar street light setup. Again, it is essential to select an area that receives direct sunlight for at least six hours per day. This will ensure that the solar panels can generate enough power to run the lights at night.
Survey the site at different times of day. A spot that looks open at noon may fall into shadow by mid afternoon, and partial shading cuts charging output sharply.
3. Mount the Solar Panels
Once you have chosen a location, the next step is to mount the solar panels. You will need a mounting bracket to secure the panels to a flat surface. Make sure the panels are facing in a direction that will receive direct sunlight during the day.
Tilt angle matters as much as direction. As a general rule, set the panel tilt roughly equal to the latitude of your site so that the array captures the strongest possible sunlight through the year.
4. Connect the Solar Panels
After the solar panels are mounted, you will need to connect them to the batteries. Again, use the cables that came with your solar panel kit to make the connections.
Keep cable runs short and seal every joint, because voltage drop and moisture ingress quietly reduce the performance of an otherwise sound solar street light setup.
5. Install the LED Lights
The next step is to install the LED lights. You will need to use a drill to make holes for the lights in the desired location. Once the holes are drilled, insert the lights and screw them into place.
6. Connect the Batteries
After installing the LED lights, you will need to connect the batteries. Use the cables that came with your solar panel kit to make the connections.
Observe correct polarity and tighten the terminals to specification, since loose connections generate heat and shorten pack life.
7. Install the Charge Controller
The next step is to install the charge controller. This component helps regulate the flow of electricity from the solar panels to the batteries. Again, make sure to follow the instructions that came with your charge controller.
The controller is the brain of any solar street light setup. It prevents overcharging in summer and deep discharging in winter, and on smart models it also manages the dimming schedule and motion response. Our solar lighting project checklist walks through the controller settings worth confirming before handover.
8. Install the Inverter
The last step is to install the inverter. This component converts the direct current electricity from the batteries into alternating current electricity, which most appliances and electronics use. Again, make sure to follow the instructions that came with your inverter.
After completing all the steps, your solar street light setup will be complete. Run the system through one full night cycle before signing off so you can confirm the lights switch on at dusk and hold brightness until dawn.
You Can Choose Between LED Or CFL Bulbs For Your Light Fixtures
Selecting the correct type of light bulb for your fixtures is essential. You can choose between LED or CFL bulbs. Each type of bulb has its advantages and disadvantages.
LED bulbs are more energy efficient than CFL bulbs but are more expensive. CFL bulbs last longer than some older LED products but are not as energy efficient.
Why You Should Use LED Lights
LED lights are the most energy efficient type of lighting available. LED lights also produce very little heat, making them safer to use around children and pets.
LED lights are the way to go if you are looking for a more environmentally friendly option. LED lights last much longer than traditional incandescent bulbs and use less energy.
Energy Efficiency
LED lights are more energy efficient than traditional light bulbs. This is because they use less energy to produce the same amount of light, which directly reduces the battery size your solar street light setup requires.
Durability
LED lights are more durable than traditional light bulbs. They can last up to fifty thousand hours, much longer than a conventional light bulb.
Environmentally Friendly
LED lights are more environmentally friendly than traditional light bulbs. They do not contain mercury, which can be harmful to the environment.
Cost Savings
LED lights can save you money in the long run. They are more energy efficient, saving you money on your energy bill. Our guide to installation cost breaks down where the savings appear across a full project.
Versatility
LED lights are versatile and can be used in a variety of applications. You can find LED lights for indoor and outdoor use.
CFL bulbs have a few advantages over LED bulbs. They are cheaper up front and widely available. However, CFL bulbs are not as energy efficient as LED bulbs and perform poorly in cold weather, which makes them a weak choice for outdoor lighting.
Conclusion
Solar street lights are a great way to reduce your carbon footprint and save money on energy costs. However, there are a few things you need to keep in mind when planning your solar street light setup.
By following the tips above, you can be sure that your solar street light setup will be successful from the first night onward. Browse more guides on our solar LED street light blogs hub, or contact us to discuss your project.
Frequently Asked Questions
How long does a solar street light setup take to install?
A single pole unit typically takes two to four hours once the foundation has cured. All in one models are faster because the panel, battery, and fixture arrive preassembled.
Do I need an electrician for the installation?
For most all in one units, no. The system is low voltage and self contained. Larger split systems with separate battery boxes and inverters are better handled by a qualified installer.
How many hours of sunlight are required each day?
Aim for at least six hours of direct, unshaded sunlight. Fewer hours means you need a larger panel and battery to achieve the same nightly runtime.
Can the lights run through several cloudy days?
Yes, provided the battery is sized for autonomy. Most quality systems are specified for three to five days of backup operation without meaningful charging.
What maintenance is needed after installation?
Very little. Wipe the panel surface clean two or three times a year, check that mounting bolts remain tight, and inspect the battery connections annually.