
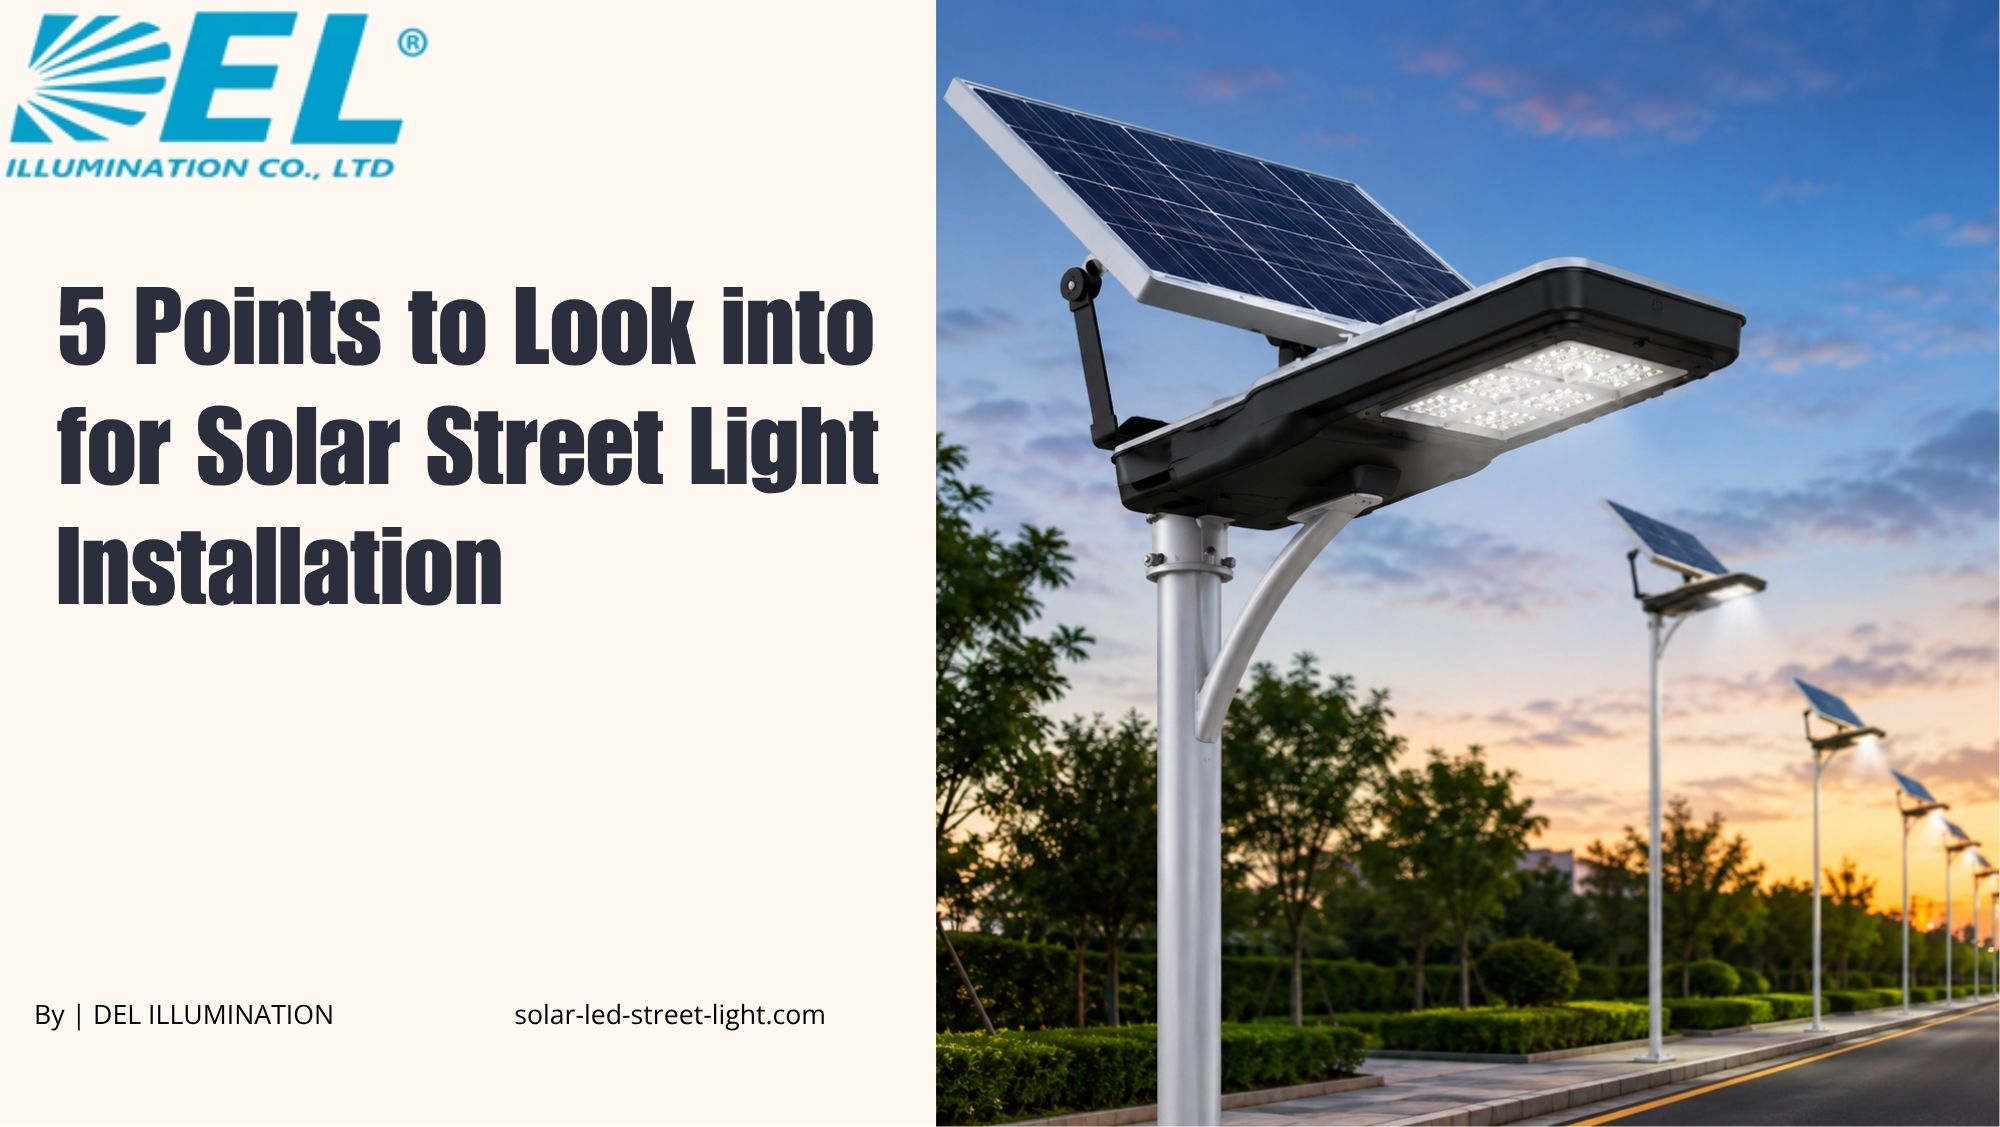
Today, solar street lights have been widely installed for outdoor lighting. Their advantages of energy saving, environmentally friendly operation, and simple setup have made them stand in an important position and become very popular in the market for solar power products. In order to ensure smooth operation and avoid malfunctions, a proper Solar Street Light Installation demands attention to detail at every stage so the system provides better lighting services for people. This guide walks you through the key precautions, the components you need, and the full process step by step. If you want ready to fit systems that make setup easier, explore the All in One Solar Street Lights range before you begin.
What are the precautions for Solar Street Light Installation?
1. Each component part is fixed
A successful Solar Street Light Installation requires the components of each part to be fixed securely. The solar panel is fixed on the solar panel bracket, the lamp head is fixed to the pick arm, the bracket and the pick arm are fixed to the main pole, and the connection line is guided to the control box. Before lifting the light pole, you must confirm whether the fasteners in each part are firmly fixed, whether the lamp is installed correctly, and whether the light source is operating properly.
2. Debug the system operation
To check whether the debugging system operates properly, loosen the connection line between the controller and the solar panel. The light source should operate properly, and when the solar panel connection is restored, the light turns off. At the same time, carefully observe the changes of the indicator lights on the controller. If all the data are normal, the unit can be hoisted and installed. Skipping this check is one of the most common Solar Street Light Installation mistakes, so never rush it.
3. Be careful when lifting the pole
The screws must be fastened tightly. If a component has an incorrect angle, it needs to be adjusted, and the direction of the panel should completely face the equator, which means south in the northern hemisphere. Careful lifting protects both the crew and the fixtures during Solar Street Light Installation, so use proper equipment and never lift a pole with loose fasteners.
4. The battery connects to the controller
Place the battery into the battery box and connect the cable to the controller according to the technical requirements. Connect the battery first, then the load, and connect the solar panel last. Wiring operation should follow the terminals marked on the controller. The positive and negative polarities cannot collide and cannot be reversed, otherwise the controller will be damaged. Correct wiring order is central to safe Solar Street Light Installation and protects the most expensive parts of the system.
5. Debug the system again to confirm it operates properly
Loosen the solar panel connection line on the controller and the light source lights up; reconnect the solar panel connection line and the light goes off. At the same time, carefully observe the changes of the indicators on the controller. If all the data are normal, the control box can be sealed. This final test closes out the Solar Street Light Installation and confirms the system is ready for daily use.
Components you need for a Solar Street Light Installation
A typical Solar Street Light Installation consists of the following components:
- Solar panel: This is the main component that captures sunlight and converts it into electrical energy. The solar panel is usually made of silicon based photovoltaic cells.
- Battery: The battery stores the electrical energy generated by the solar panel during the day and releases it at night to power the light. It is usually a rechargeable lithium ion battery.
- LED light: The light emitting diode, or LED, is the most commonly used light source in solar street lights. LEDs are energy efficient, long lasting, and require very little maintenance.
- Controller: The controller manages the charging and discharging of the battery and ensures that the light turns on and off at the appropriate times. It also regulates brightness and can be programmed to react when it detects motion.
- Pole: The pole provides support for the solar panel and the LED light. It is usually made of aluminium or steel and can be designed to be adjustable for optimal positioning of the solar panel.
- Sensor: Some solar street lights also have a sensor that detects the ambient light level and automatically adjusts the brightness accordingly.
Understanding these parts makes any Solar Street Light Installation far easier, because you know exactly what each piece does before you start.
Solar Street Light Installation process
A Solar Street Light Installation requires careful planning and execution to ensure the system operates at its maximum potential. Below are the key steps involved in the process. For a complete field ready worksheet, the Solar Lighting Project Checklist helps you plan each stage before crews arrive on site.
- Preparing the site: The first step is to prepare the installation site by clearing any debris, rocks, or vegetation that may obstruct the work. Level the ground and ensure the site is free from anything that may cast a shadow on the solar panel.
- Assembling the solar street light: Attach the battery, solar panel, and LED light together using the hardware provided with the system. Ensure the panel is tilted at an angle that receives maximum sunlight.
- Mounting the light and solar panel: Once assembled, mount the light and solar panel onto a pole or structure suitable for the system. Ensure the pole is sturdy and that the light and solar panel are correctly aligned.
- Connecting the wiring: Carefully run the wires from the solar panel to the battery and then to the LED light. The wiring is typically connected using waterproof connectors to protect against moisture and corrosion.
- Testing the system: Check that all components work correctly by turning on the light at night. Verify that it illuminates the area as intended and that the battery is charging during the day.
Following this Solar Street Light Installation sequence in order keeps the work safe, tidy, and reliable from the first day.
Solar Street Light Installation; Conclusion
Above are the precautions and steps for a reliable Solar Street Light Installation. Today, solar power products are popular and favoured on the market, and solar street lights are one of them. They are energy saving, environmentally friendly, and simple to install, which has made them a new favourite of the lighting market. A careful Solar Street Light Installation ensures years of dependable performance with very little upkeep. If you have any requirement for solar street lights or need help planning a project, reach out through the DEL Illumination contact page and the team will guide you through it.
Frequently Asked Questions
How long does a Solar Street Light Installation take?
A single all in one unit can often be installed in under an hour once the foundation is ready, because there is no trenching or grid cabling. Larger projects take longer, but the absence of civil wiring work still makes solar much faster than traditional grid lighting.
Do I need an electrician for Solar Street Light Installation?
Basic all in one systems are designed for straightforward mounting and wiring, so a trained installer can usually handle them. For large projects, complex controllers, or local code compliance, involving a qualified electrician is a sensible precaution.
Which direction should the solar panel face?
The panel should face the equator to capture the most sunlight, which means facing south in the northern hemisphere and north in the southern hemisphere. Correct tilt and orientation are essential for full daily charging and reliable night time output.
What is the most common Solar Street Light Installation mistake?
Skipping the debugging and testing steps is the most frequent error. Failing to check indicator lights or reversing battery polarity can damage the controller, so following the wiring order and testing at each stage is critical.
How much maintenance does a solar street light need after installation?
Very little. Occasional cleaning of the solar panel and periodic checks of the battery are usually enough. High quality lithium batteries may need replacement after several years, while the panel, LED, and pole often last much longer.