
Are you looking for a way to light up your streets without spending too much? Then a Solar Street Light Set is the perfect solution! Not only does it provide ample lighting, but it also helps reduce energy costs and greenhouse gas emissions.
This kind of system is perfect for anyone looking to switch to renewable energy. It includes everything you need to get started, from the light fixture and solar panel to the battery, controller, and mounting hardware. Many buyers today choose all in one solar street lights, where all of these parts are built into a single compact housing.
It is a great way to save money and help the environment, and it can be used to light up a road, sidewalk, driveway, parking area, or any other outdoor space. Solar street light sets are easy to install and do not need a grid electricity connection.
They are powered by the sun and are completely renewable and environmentally friendly. In addition, solar street lights are an excellent way to improve safety and visibility in any outdoor space.
What is a Solar Street Light Set?
A solar street light set is a system that uses solar panels to convert sunlight into electricity, which is then used to power street lights. Solar street light sets are becoming increasingly popular as an alternative to traditional grid powered street lighting, offering a more sustainable and eco friendly option.
These systems can be used in various settings, such as residential areas, commercial districts, industrial parks, and even rural roads. They are ideal for regions where grid power is unavailable or unreliable.
A solar street light set typically includes a solar panel, a battery, an LED light, and a controller. The solar panel converts sunlight into electricity, which is then stored in the battery. When the sun goes down, the LED light is activated, powered by the electricity stored in the battery. The controller regulates the flow of electricity and ensures that the light only turns on when it is dark outside.
Types of Solar Street Light Set
There are two common designs. An all in one solar street light set places the panel, battery, controller, and LED lamp in one unit, so installation is quick and there is little wiring on site. An all in two or split solar street light set mounts the solar panel separately from the lamp, which allows a larger panel and battery for higher wattage roads and regions with fewer sun hours.
Cost Effective Option
Solar street light sets are a cost effective and sustainable way to light up streets and public areas. In addition, they offer many benefits over traditional grid powered street lights, including being more environmentally friendly and easier to install, since no trenching or cabling is needed.
How to Install a Solar Street Light Set: 7 Prerequisites
Solar street lights are a great way to light up a dark street or path. But before you can enjoy the benefits of solar lighting, you need to install the lights properly. The seven steps below cover what must be in place for a solar street light set to work reliably from the first night. For larger projects, a solar lighting project checklist helps you record site data, pole spacing, and lighting requirements before installation begins.
1. Choose a Sunny Location
The first step to installing solar street lights is to choose a sunny location. You need to ensure that the solar panel can get enough sunlight during the day to charge the battery properly. Avoid spots shaded by trees, buildings, or signboards, especially between mid morning and mid afternoon. If you’re unsure how much sun your area receives, you can check local solar irradiance data or ask your supplier.
2. Check and Assemble the Parts
Once you have a sunny location, it’s time to check the parts of your kit. Most sets will come with everything you need, but it’s always a good idea to check the list of items before you start. You’ll need the following:
- Solar panel
- Light fixture
- Battery
- Controller unit
- Pole, bracket, and anchor bolts
If you’re missing any of these items, contact your supplier before starting, since mixing parts from different sets can cause compatibility problems.
3. Prepare the Foundation and Pole
Before mounting anything, the pole needs a solid base. Dig the foundation to the depth specified for your pole height, set the anchor bolts in concrete using a template, and allow the concrete to cure fully. A level, well cured foundation keeps the pole straight and stable in strong winds.
4. Mount and Angle the Solar Panel
The solar panel must be mounted so it gets as much sunlight as possible. In the northern hemisphere the panel should face south, and in the southern hemisphere it should face north. Tilt the panel to an angle close to your local latitude, and make sure nothing will shade it as trees grow or new structures are built.
5. Connect the Battery to the Controller Unit
The next step is to connect the battery to the controller unit, then connect the solar panel and the light fixture to their matching terminals. Always follow the wiring order in the manual, and check the positive and negative leads carefully. Ensure every connection is secure and sealed, with no chance of the wires coming loose. With an all in one solar street light set, most of this wiring is already done at the factory.
6. Mount the Light Fixture
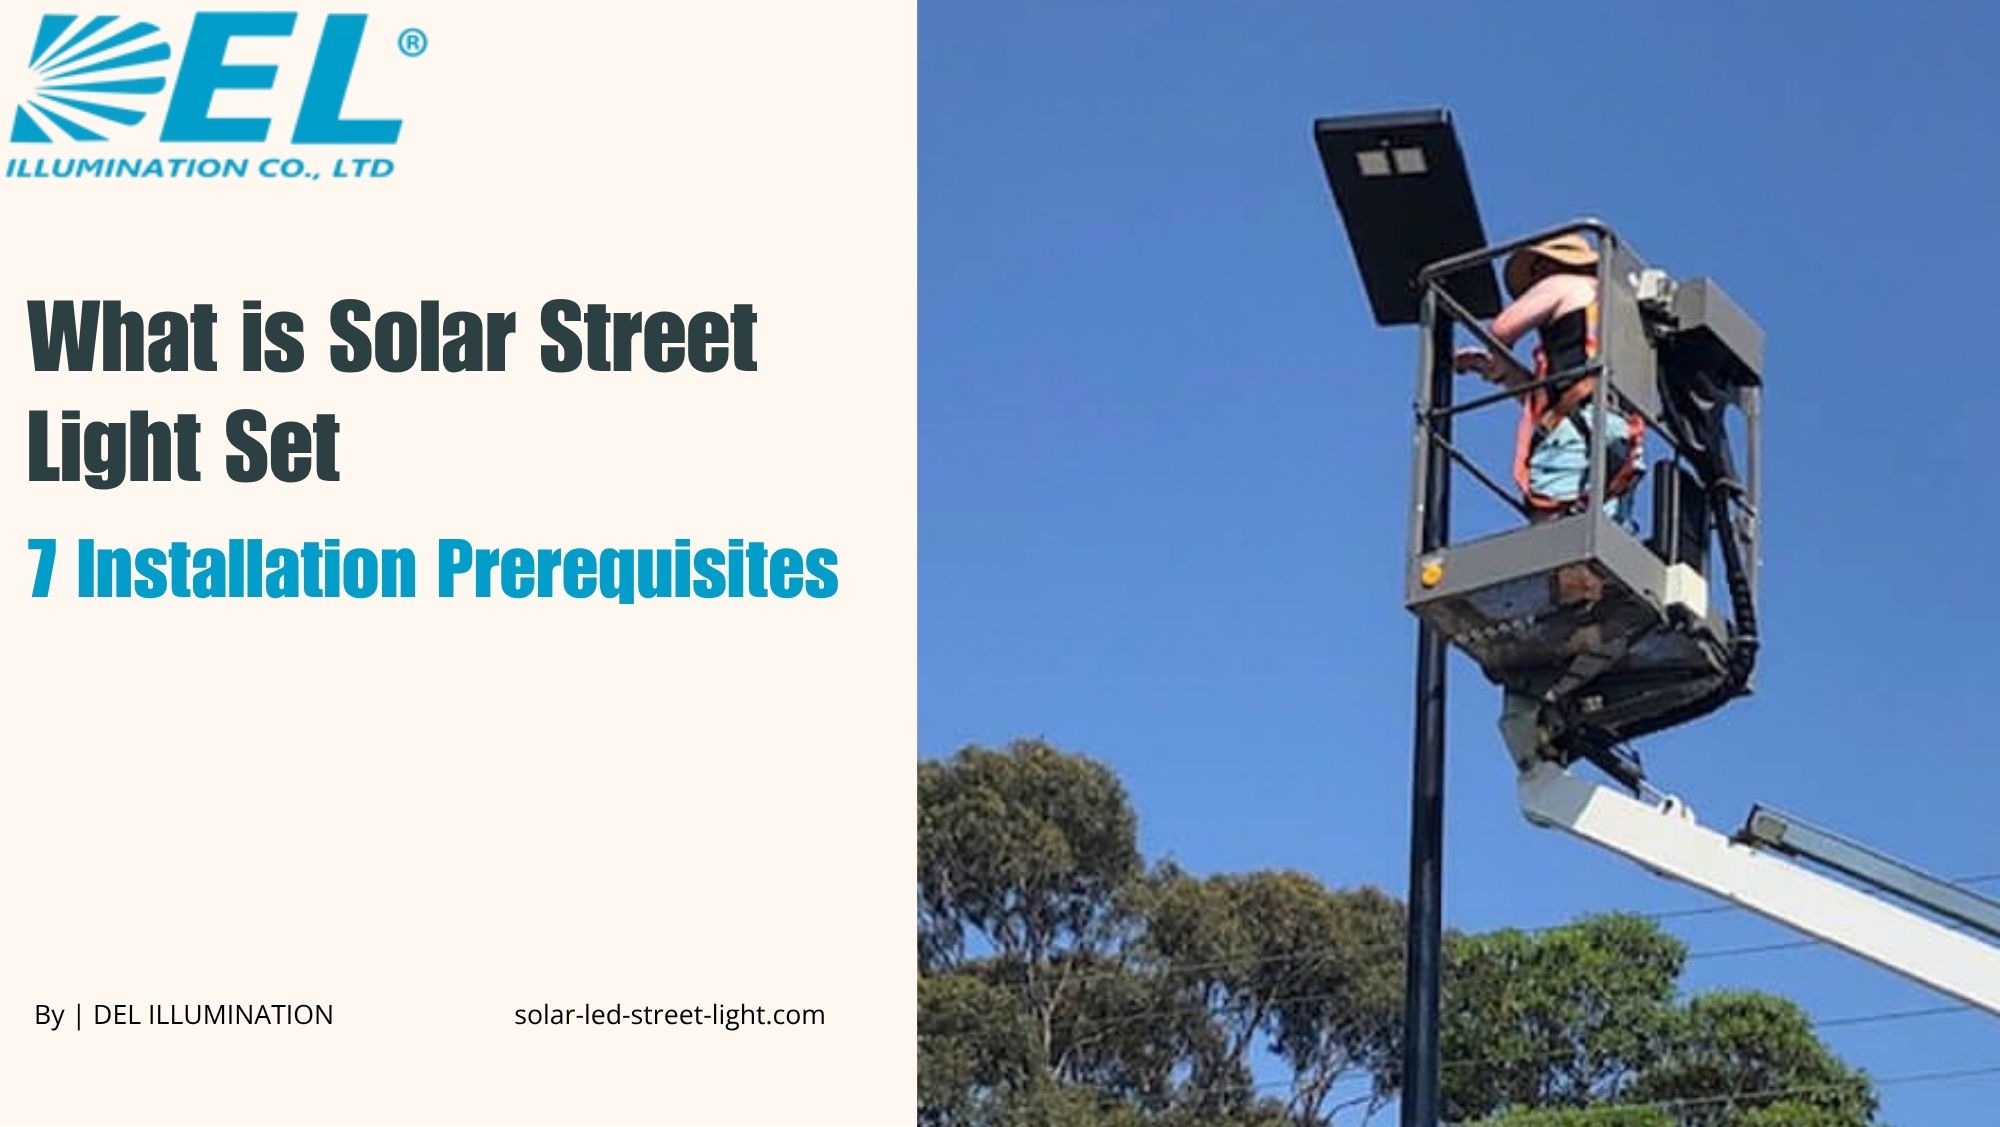
Once the wiring is complete, mount the light fixture on the pole bracket at the correct height and angle for the road. The lamp should point toward the area you need to light, not toward the sun. Tighten all bolts and check that the fixture is level so the light spreads evenly across the road.
7. Commission and Test the Light
Once everything is installed, switch on the system or activate the controller. The light should come on automatically at dusk and turn off at dawn. Check the dimming schedule, test the motion sensor if there is one, and cover the panel briefly to confirm the light switches on. If the light doesn’t come on, you may need to adjust the settings on the controller unit.
Solar street lights are a great way to provide lighting for dark areas without grid electricity. By following these steps, you can install the system correctly for your home, business, or public road.
Advantages of Using a Solar Street Light Set
This type of lighting provides several advantages for both property owners and municipalities. By using solar energy to power streetlights, communities can reduce their reliance on traditional forms of energy while also enjoying several other benefits.
One of the most significant advantages of using solar streetlights is that they can help municipalities save money on their energy bills. This is because solar streetlights require no external power source, meaning they are not connected to the grid and do not use grid electricity to operate.
This can lead to significant savings for municipalities over time, as they will no longer need to purchase electricity to power their streetlights. In addition, solar streetlights require very little maintenance, which can also help save money on operational costs.
Another advantage of using solar streetlights is that they are environmentally friendly. Solar energy is a renewable resource, meaning it does not produce harmful emissions or contribute to climate change while the lights are running. The International Energy Agency highlights solar PV as a key technology for expanding clean electricity worldwide.
Conclusion
A solar street light set is a great way to provide lighting for a dark area without grid electricity. It is essential to follow the proper steps when installing a solar street light set to ensure it works correctly. Once installed, a quality solar street light set should provide years of reliable lighting.
For road, municipal, and EPC projects, choosing the right solar street light set starts with correct sizing for your site. DEL Illumination works as a solar street lighting engineering solution expert, helping clients match panel, battery, and lamp to local conditions. Contact our team to plan the right solar street light set for your project.
Frequently Asked Questions
1. What comes in a Solar Street Light Set?
A typical set includes a solar panel, an LED light fixture, a battery, a charge controller, and mounting hardware. Some suppliers also include the pole, bracket, and anchor bolts.
2. How long does it take to install a solar street light?
Once the foundation has cured, a trained crew can usually mount and commission an all in one solar street light in under an hour. Split systems take a little longer because of the extra wiring and separate panel mounting.
3. Which direction should the solar panel face?
The panel should face the equator: south in the northern hemisphere and north in the southern hemisphere. Tilting it close to your local latitude helps it collect the most sunlight across the year.
4. How high should a solar street light pole be?
Pole height depends on the road type. Pathways and residential lanes often use poles of 4 to 6 meters, while main roads use 8 to 12 meters. Wider roads need higher poles and higher wattage lamps.
5. Do solar street lights need wiring to the grid?
No. Solar street lights are self powered. Each light generates, stores, and uses its own energy, so there is no need for trenching, cabling, or a grid connection.