
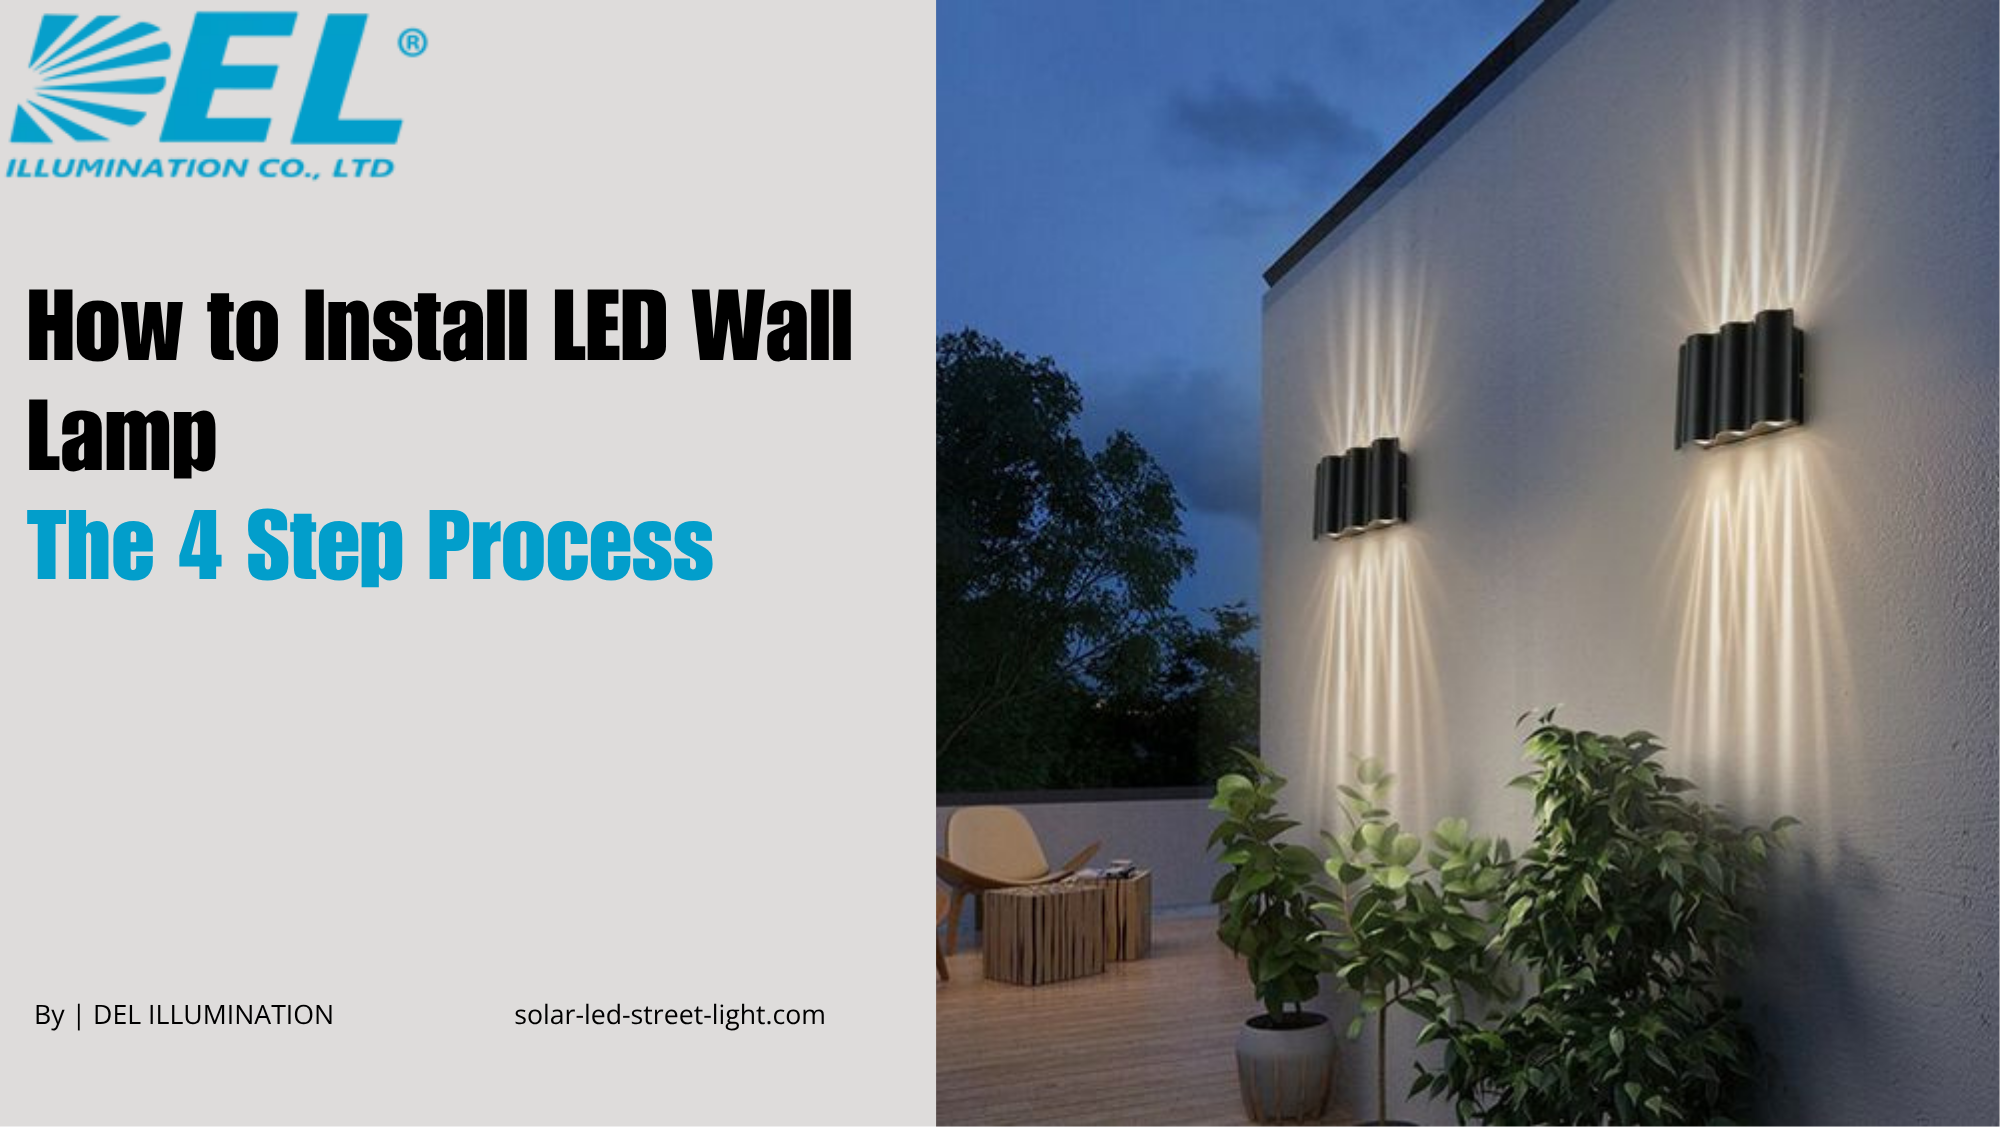
Installing an LED wall lamp is relatively simple once you understand the sequence. The job breaks down into confirming the mounting place, fixing the holder, mounting the fixture, and testing it. With the right preparation, most people can complete an LED wall lamp installation in a single afternoon without specialist tools.
First, confirm the place for installation, then fix the LED wall lamp holder. Embedded parts or a punch are generally used to fix the wall lamp holder first, and then the LED wall lamp is fixed on the wall. Choosing a solid, weather protected surface at the start saves rework later, especially for an outdoor LED wall lamp that must handle wind and rain. If you are also planning wider outdoor lighting, our All in One Solar Street Lights range pairs well with wall mounted fixtures.
Before you begin, gather your fixings, a spirit level, a drill, and the mounting template if one is supplied. Reading the manufacturer guidance for your specific model is worth a few minutes, because holder patterns and load ratings differ between models.
Gluing Construction
For adhesive mounted units, soak the lower part of the glue roller into the glue, keep the upper part exposed, and directly or indirectly touch the work surface through the glue roller. Use the workpiece to drive the glue roller to apply the glue to the bonding surface. The glue roller can use different grooves and patterns, and it can be made of rubber, wood, felt, or metal.
Even, controlled coverage of the LED wall lamp bonding area matters here. A patchy layer weakens the bond and can let the fixture shift over time, so take care to spread the adhesive consistently across the whole contact area.
Open Assemble and Placement
Apply the adhesive on the bonding surface for rapid pervaporation, and leave it exposed for a while. This resting process, from applying the adhesive until the two surfaces are assembled, is called open assemble. The two bonding surfaces are joined after gluing, open assemble, and a short storage period. The process from bonding to applying manual pressure is called placement.
Timing the open assemble window correctly is one of the most common installation mistakes. Assemble too early and the solvent is still active. Assemble too late and the adhesive has already started to skin over, which reduces grip.
Compaction
Adhesive bonds at the same time as it cures. During the curing process, ensure that the bonding surface is tightly sealed, and apply pressure before consolidation. If the bonding surface cannot seal tightly during curing, there will be a gap in the bonding layer that influences the bonding quality. In general, the requirements for the compacting operation are that the compacting force needs to be the right size, distributed evenly, and applied for sufficient time.
The pressure must not deform the body of the fixture. Compaction time is related to the adhesive and the curing temperature. Compacting force can only be removed once the adhesive has completely cured.
LED Wall Lamp Curing
Curing means the adhesive evaporates through the solvent or another chemical reaction that converts it from a colloidal state to a solid, causing the physical and chemical bonding process. The quality of curing has an important relationship with a successful installation. During the operation, you must satisfy the curing requirement of the adhesive to guarantee the bonding quality. Curing temperature plays a decisive role in the speed of curing and the final quality. Even when the adhesive cures at room temperature, raising the temperature is beneficial as well.
Testing and Final Touches
After successfully wiring and mounting the LED wall lamp, it is time to move on to the final step of the installation process: testing and final touches. Working carefully through this stage confirms that the fixture is safe and ready for daily use.
Turning on the Power to the Installation Area
The first thing you should do is turn on the power to the installation area. This lets you check whether the lamp is receiving the required electrical supply and whether it lights up as expected. If the lamp does not turn on, check the wiring connections and make sure they are secure. Our Solar Lighting Project Checklist is a handy reference if you are commissioning several fixtures at once.
Checking the Lamp for Proper Functionality
Once the power is on, carefully examine the fixture for proper functionality. Ensure the light output is as expected and that there are no flickers or dimming issues. Also check for any physical damage, such as scratches or dents, that may have occurred during handling.
Final Adjustments and Cleaning
Lastly, make any necessary final adjustments to the position, angle, or brightness of the lamp according to your preferences. If the fixture is not positioned correctly, it may not provide sufficient illumination. Finally, wipe off any smudges or dirt on the surface of the lamp to ensure optimal performance and longevity.
Why Choose a Solar LED Wall Lamp
A solar powered wall lamp adds an extra benefit over a mains wired unit, because it draws no grid electricity and needs no trenching for cable runs. According to the International Energy Agency, solar PV is the fastest growing source of new electricity generation worldwide, and small solar fixtures like a wall lamp are a simple entry point.
For entrances, pathways, and perimeter walls, a well placed wall lamp improves both safety and appearance. If you have any requirement for a solar LED wall light, feel free to reach out through our Contact page and our team will help you specify the right model.
Frequently Asked Questions
How long does it take to install an LED wall lamp?
Most installations take one to three hours depending on the mounting method. Bracket and screw fixing is quicker, while adhesive mounting adds time for open assemble, compaction, and full curing before the fixture can bear load.
Can I install an LED wall lamp outdoors?
Yes, provided the unit is rated for outdoor use with a suitable IP rating. An outdoor unit should be mounted on a weather protected surface and sealed properly so that moisture cannot reach the wiring or the bonding layer.
Do I need an electrician to install an LED wall lamp?
A low voltage or solar wall lamp can often be installed without an electrician, but any fixture wired to mains electricity should be connected by a qualified person to meet local safety regulations and protect your warranty.
Why is my LED wall lamp not turning on?
If the lamp does not turn on, first confirm the power supply to the area, then check that the wiring connections are secure. For solar models, make sure the panel is clean, unshaded, and has had enough daylight to charge the battery.
How do I keep an LED wall lamp working well over time?
Wipe the surface of the lamp regularly, keep any solar panel free of dust and debris, and inspect the fixings and seals once or twice a year. Simple maintenance protects both performance and lifespan.